
Staff, roles & departments
Add staff, give them branch access and a role, create custom roles and organise departments.
Sofra uses role-based access control. Three things decide what a person can do: their role (a set of permissions), the branches they have access to, and their scope (all branches or only assigned ones).
Adding staff
- 1
Open Staff
Go to People → Staff List and choose Add Staff.
- 2
Fill in the details
Full name, email, password (at least 8 characters), role, an optional department and optional phone.
- 3
Give branch access
Open Management → Branches, choose the branch, then Assign Staff and pick the person and their role there. Without branch access a branch-limited person cannot work in any branch.
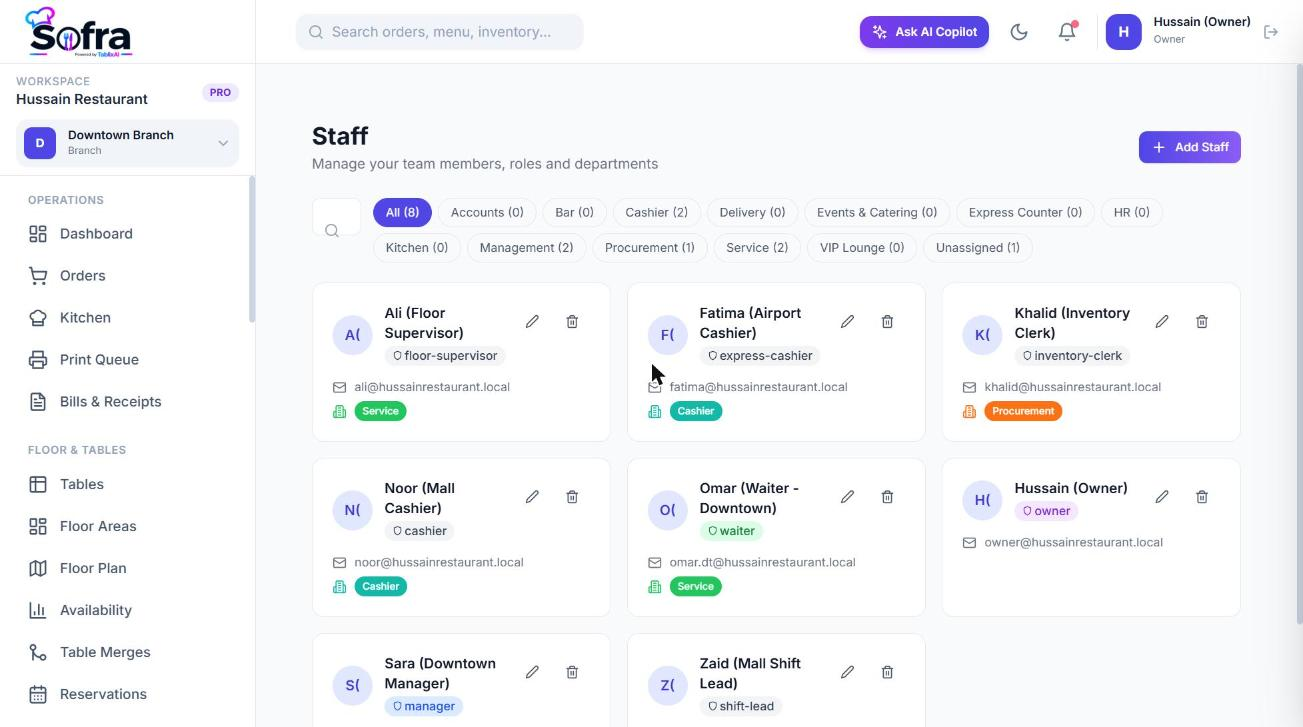
- An email can only belong to one active staff member in a restaurant. A deactivated member who is re-added is reactivated.
- You can hold a different role in each branch, for example manager in branch A and cashier in branch B.
- Staff accounts are capped by plan: Free 2, Basic 10, Pro 50, Pro Plus unlimited.
- Removing a member deactivates them; their history is kept.
Built-in roles
Every restaurant starts with six roles that cannot be deleted:
| Role | Typical use | Discount cap |
|---|---|---|
| Owner | Everything, including billing and roles. | Unlimited |
| Manager | Runs the restaurant: catalog, staff, stock, reports, printing and documents. | Unlimited |
| Branch Manager | Runs one branch: orders, tables, stock, staff, floor, kitchen, printing, reports. | 20% |
| Cashier | Orders, payments, customers, documents and reservations; sees all orders and tables. | 10% |
| Waiter | Dine-in orders for their own tables; reservations, walk-ins and waitlist. | 5% |
| Kitchen | Sees all orders in the branch for the kitchen screen; updates prep status; prints tickets. | 0% |
The complete permission list is in the Permissions reference.
Custom roles
- 1
Open Roles
Go to Management → Roles (owners only) and choose Create Role.
- 2
Name and scope
Give the role a name and choose whether it applies to the whole restaurant or one branch only.
- 3
Inherit (optional)
Choose a built-in role as a parent.
- 4
Tick permissions
Switch on exactly the permissions the role needs, grouped by area (orders, tables, inventory, staff, printing, documents and so on).
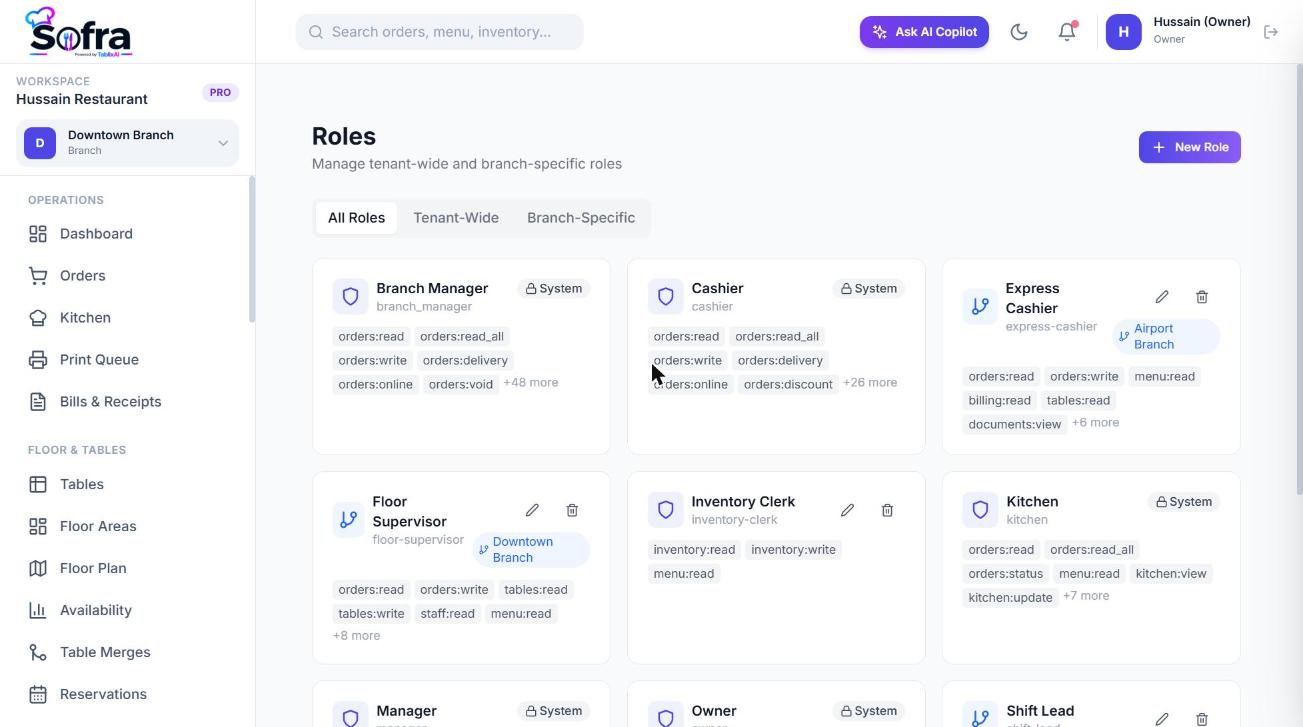
- A custom role cannot be deleted while staff are assigned to it.
- Built-in roles can have their permissions changed (by the owner) but cannot be deleted.
- Branch-scoped roles are only active in that branch and appear on the branch page.
Departments
Departments group staff and operations by functional area, such as Kitchen, Service or Management. Go to Management → Departments and choose Create Department: name, description, a colour for badges and a scope (whole restaurant or one branch). Staff can be assigned a department when they are added.
Passwords and sessions
- Passwords are stored hashed, never in plain text.
- Staff reset a forgotten password with Forgot password on the sign-in page. The owner’s password is the owner-portal password.
- Signing in updates the person’s last-login time.
Ready to try it?
Create a free account and follow along.